

Earlier this week, we discussed Turn Zero and Tempo. Check that out here if you missed it. Definitely make sure you’re familiar with friendly territory, enemy territory, and contested territory.
Today, we’ll be considering the five different ways of deploying in Legion 260: “normal” deployment, Prepared Position, Transport, Scout, and Infiltrate. We’ll briefly touch on Reinforcements as well. This should serve as another foundation for when we look at the new Primary and Secondary Objectives next time in this series. The goal today is to understand how these different options work, what the benefits to each are, and potentials issues you might run into when utilizing each of them. Like earlier this week, this will be a bit rules heavy, but I think it is worth it.
A few things thing before we begin. The Legion 260 CRB brought an update to how small-based trooper units interact with the movement tool. Now, when they perform a move, one beveled end of the tool is placed flush against the unit leader’s base. The model is then picked up and placed in contact with any portion of the movement tool. This change has brought a speed two move to a touch over 6” (and, with that, over range one) if the unit leader is placed as far as it can be. As an aside, there has been some solid discussion on this in the community. Please do check how far a small-based trooper covers using a speed two move for yourself. It seems clearly over 6” to me.
It’s important to be comfortable converting between movement template speeds and range rulers. Each range band is 6.” With the updated movement rules discussed above, a small-based trooper (anything not on a notched base) performing a speed two move also covers 6.” That means a small-base trooper unit can cover range one by performing a move action (assuming no terrain or other effects).

I’ll reference the term threat range throughout this post. Calculating a unit’s threat range is done by considering how far they can move and attack in a single activation. Often this is their movement plus weapon range but things like difficult terrain or Steady can change this. For example, a Clone Trooper Infantry unit with a Z-6 Heavy Weapon has a threat range of range four or 24” (speed two move plus range three weapons).
“Normal” Deployment
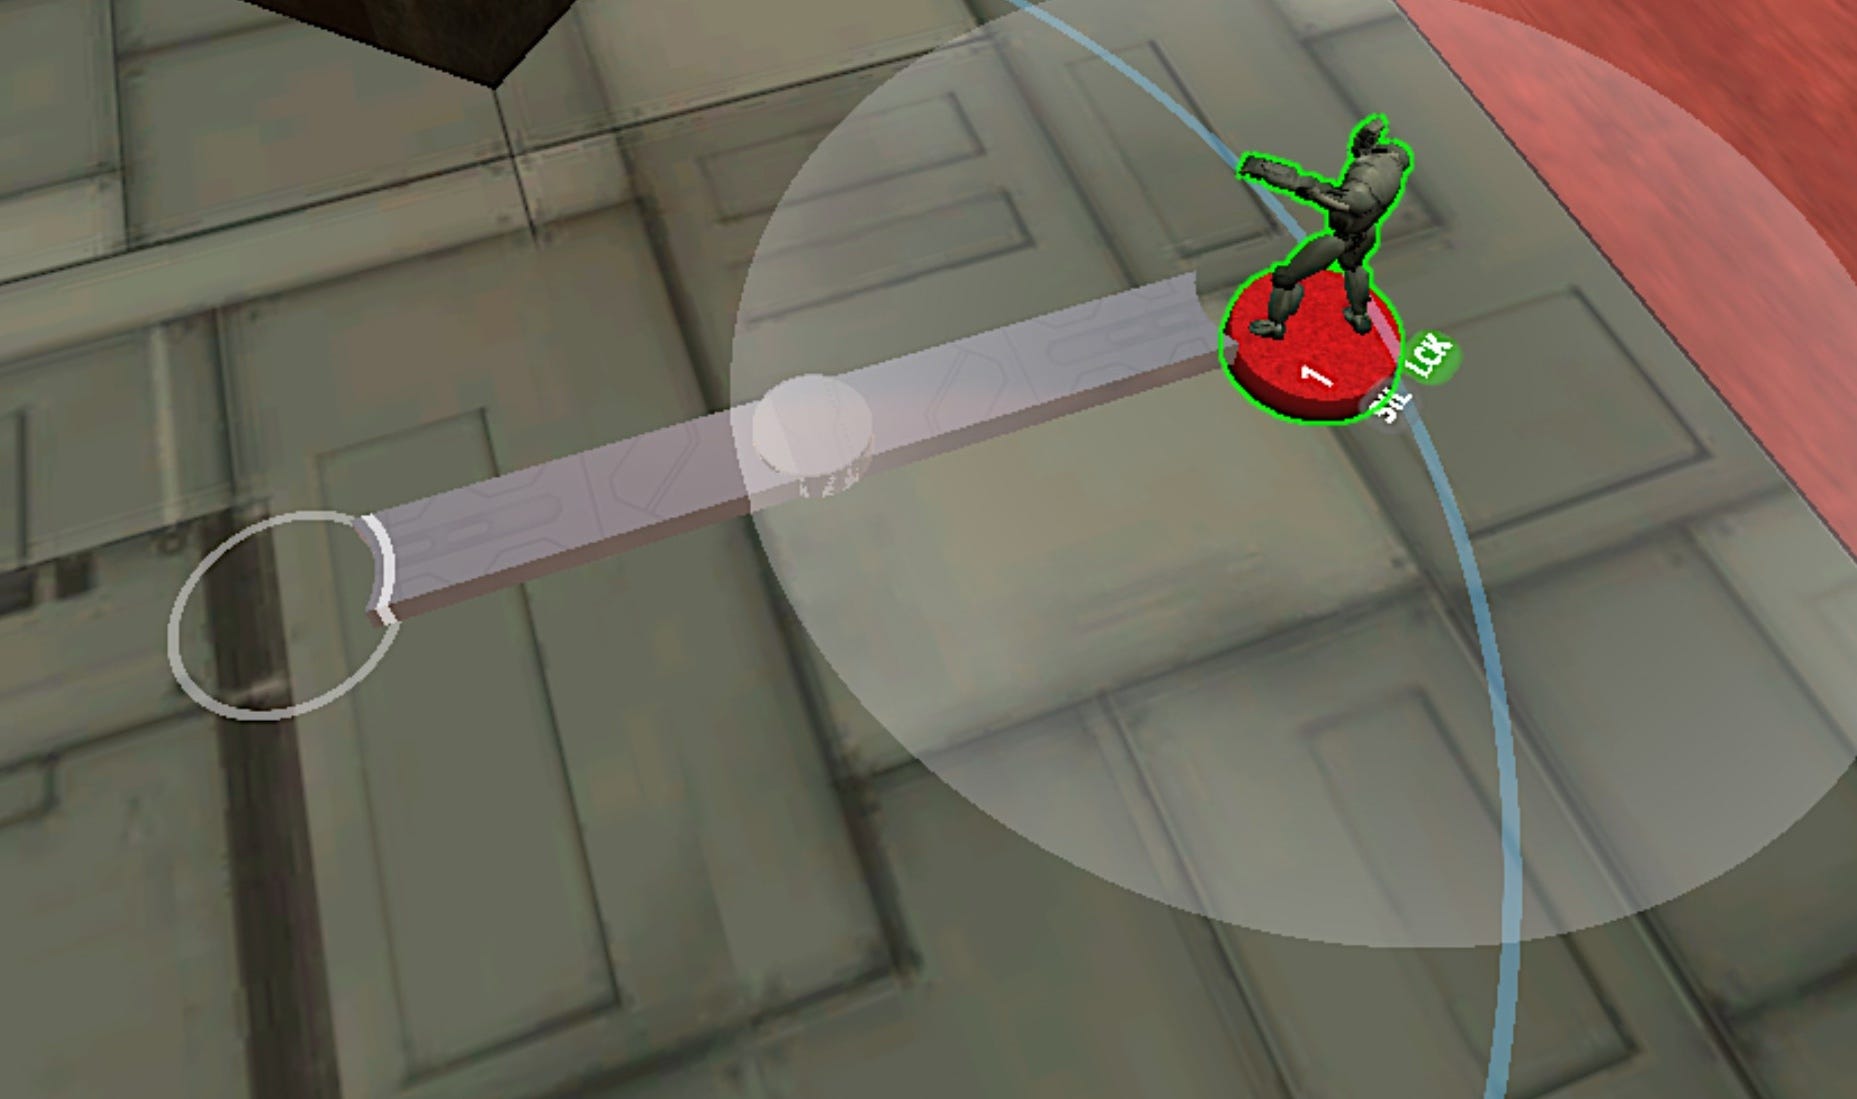
Unless a unit has Prepared Position, they do not begin on the table. Instead, units deploy when they would perform a move while undeployed. Most often, this will be during their activation for their first action. Deploying is a move from the table edge with both prongs on one end of the movement tool touching the table edge—this does not necessarily have to be your long edge if friendly territory is touching a short edge. The long blurb about vertical distance basically means you start at table level. A unit must climb on a deploy if that move would normally require a climb. Additionally, units can’t do any actions until they deploy. So, for example, a B2 unit in the Experimental Droid battleforce couldn’t use the free action to spend a surge and increase their speed before they deploy.
The maximum distance a speed two unit can cover via “normal” deployment without other effects will be ~6” (equivalent to range 1). This unit would then have one action left in their first round activation.
Three of the six Primary Objectives have Point of Interests (POIs) on the mid-line of the table (range three from each player’s long edge). We’ll use these POIs as an example throughout this post. To contest those POIs, a unit will have to move at least 14” (The POI has a 1” radius and units must be .5 range or 3” from a POI to contest) by the end of round two (when Primary Objective Scoring begins). In other words, a speed two trooper unit will have to move three of their first four actions to contest a mid-line POI at the end of round two. This means that these units will have to choose between shooting in both round one and two or contesting a mid-line POI round two. One of the benefits to the keywords discussed below is that these units will often avoid this decision and can just shoot both rounds while still ending within .5 range of a mid-line POI.
Prepared Position
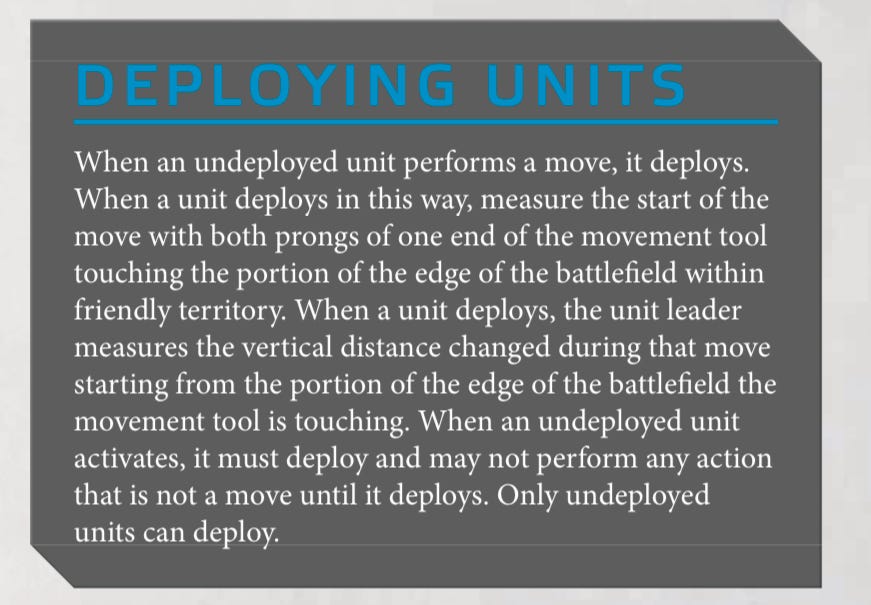
The only units that deploy before round one are those with the Prepared Position keyword. Note that during the Deploy in Prepared Positions step, a unit with the Detachment keyword gains the Infiltrate or Prepared Position keyword for the remainder of the game if its matching specified unit has that keyword. So if Cassian uses Covert Ops to Infiltrate, K2-SO gets Infiltrate as well; or, since Rebel Veterans have Prepared Position, their detachment Mark II gains it too. At the final step of setup, starting with the Blue Player, players will alternate deploying units with Prepared Position. Players cannot pass during this step. Note that the only units that are required to deploy in this step are units with the stationary keyword as well. When a unit with Prepared Position is placed, it gains a dodge token.
Not many units have access to Prepared Position, and those that do are nearly all speed one or Stationary. The one exception is Anakin via his new three-pip command card.
Full list of units with Prepared Position:
FD Laser Canon
Rebel Veterans
Mark II Medium Blaster
Shoretroopers
DF-90 Mortar
E-Web Heavy Blaster
Anakin Skywalker (via divulging Command Card)
Each friendly territory is a variation on range 1.5 (9”)from your table edge. We will get into those specifics when go over each Primary Objective, but in simple terms, Prepared Position can allow a unit to deploy 9” further than they normally could. This means before they activate, they are .5 range ahead of the furthest a speed two unit could reach via “normal” deployment (and they have two actions remaining a opposed to the normal one). Taking advantage of this potential 9” addition to your threat range will make or break the effectiveness of your units with Prepared Position.
Conversely, these units are able to be targeted by your opponent from the start of the game. Each Prepared Position unit (other than Anakin) is a relatively weak target to boot. The dodge token they receive before round one is a nice benefit, but it won’t do much if you leave it in the open for your opponent.
When using Prepared Position, I’m considering a couple things. First, does my opponent have the tools to defeat my Prepared Position units? If I see an army with multiple range four or longer weapons across the table, I will lean very cautious in deployment. If, conversely, they have no weapons beyond range two, there’s much less incentive to deploy cautiously. Second, is my Prepared Position unit in a spot to contest, or at least threaten, Points of Interest in round two? Deploying a Rebel Veteran unit behind a line of sight blocker, but over 11” (slightly less than range 2) from its nearest Point of Interest means it will have to spend at least one full activation double moving to score that POI round two. They move 4” and need to end at .5 range (3”) of the POI to score (activation one: move, shoot and activation two: move, shoot only gets you 8” and leaves you out of range of contesting). The math for the notched base troopers adds one inch to each move so they’ll need to deploy within 13” (an inch over range two) to not need a double move to score round two. This means the ideal deployment for a Prepared Position unit will often be behind a line of sight blocker towards the front of friendly territory while being comfortably within an inch short of range two of a POI you plan to contest round two. There are reasons not to do this, but if you do not, make sure a reason actually does exist.
Even if my opponent has a lot of long range firepower to threaten my Prepared Position units, I will still utilize the keyword unless my friendly territory is completely bereft of line of sight blocking terrain. A small base trooper like a Shoretrooper not using the keyword puts it potentially two moves (a full activation) behind where it could be (8” covered in two speed one moves).
The Advantage card “Garrison” allows you to give Prepared Position to a corps unit without it. The pro’s are more less the same for a unit with speed two—starting up to 9” further up the map. Obvious targets for this would be close range corps like B2’s, Fleet Troopers, Flamethrower Snowtroopers, etc. Just don’t leave these units in the open to get shredded by your opponent before they activate.
Infiltrate
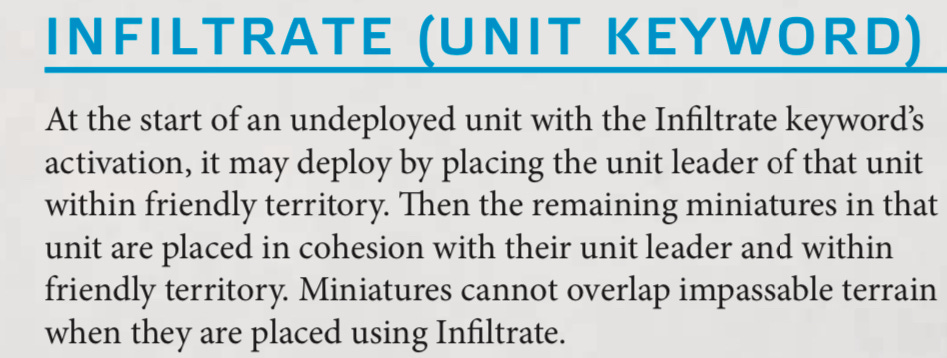
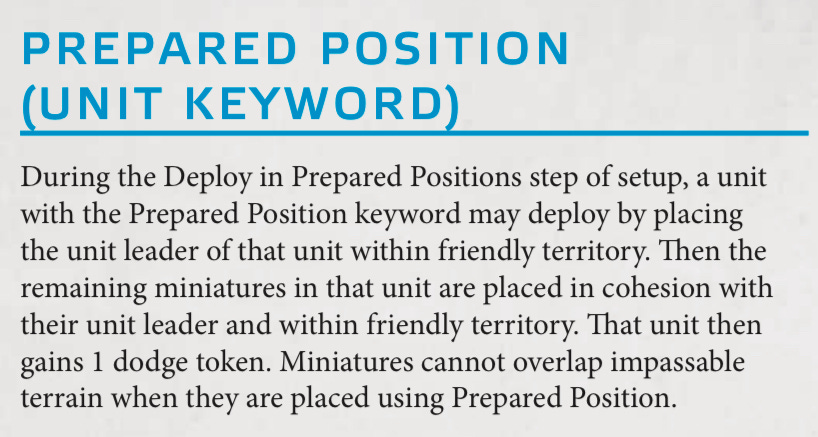
Infiltrate functions kind of like a delayed Prepared Position. When a unit with Infiltrate activates, place the unit in friendly territory then perform the rest of its activation.
Most of the Prepared Position downsides are not really a problem for units with Infiltrate. Since they are not placed on the table until they activate, they are not liable to being defeated before they activate. Similarly, when placing them, you have some amount of knowledge that you would not have during Prepared Position since other units have begun activating and deploying (as long as you do not have Priority round one and they are not your first activation).
The most obvious benefit to infiltrate is being able to shoot then move out of line of sight during round one. Most units will have to end in line of sight of at least the unit they attacked if they want to shoot round one. Units that Infiltrate (or Scout or are transported) can potentially shoot then move round one and not be open for return fire that round.
As long as an infiltrating unit deploys within 15” of a POI, they should be able to shoot during both their round one and round two activation while still contesting that POI. If they deploy within 9” of a POI, they only need to perform one move to contest that mid-line POI. Don’t forget to consider terrain, though. Each climb or difficult terrain move decreases your movement by at least 2”.
Having some amount of order control on units with Infiltrate is important too. Often, the threat of the Infiltrate, shoot, move or move, shoot will be more effective than the actual shot. For example, until they activate, units with Infiltrate threaten a range three shot, for example, anywhere within range four of your friendly territory (speed two move plus a range three shot). Put differently, on nearly every deployment, an unactivated unit with Infiltrate can shoot any activated speed two trooper unit it can see that is within range of single moving to contest a POI on round two. By holding units with Infiltrate until later in Round one you force your opponent to do one of three things with speed two trooper units: end their activation behind a line of sight blocking piece of terrain within 9” of a POI, be out of range of a single move to contest a POI (ie moving twice to contest round two instead of moving, then shooting), or be potentially targeted by an attack from your units with infiltrate.
Scout

Scout gives a unit a speed-x move action when it activates if it has not deployed. Note that this means there are no interactions with Scout and Infiltrate, Prepared Position, or Transport. Also note that Scout gives a move action now so things like Tactical and Agile will trigger when a unit Scouts. Scouting Party also got a slight change in 260. Now during setup, you will choose x units to gain the Scout value of the unit with Scouting Party. Those units must share the same faction or affiliation as the unit with Scouting Party and cannot already have the Scout keyword.
Scout is often a mini-Infiltrate. Since a Scout-1 move is 4”, a Scout-2 move is 6”, and a Scout-3 move is 8",” even the fastest Scout unit won’t have as long a threat range as an Infiltrate unit (most of the time—deploying from the short edge can change this in some niche cases). The benefits to units with Scout are mostly the same, though. They have a longer threat range than units deploying normally, and they have the potential to shoot a unit round one and end their activation behind a line of sight blocker.
Additionally, even the 4” from Scout-1 allow that unit to only need two moves to contest mid-line POIs round two (remember that units deploying normally will have to perform three moves). A Scout-3 unit, if it deploys directly below a mid-line POI and moves directly towards it, could contest that POI using only a single move.
Unlike most units with Infiltrate, though, units with Scout are often relatively cheap and can be quite hardy. This means that a good use of Scout can be to threaten contesting a POI your opponent does not expect. Consider an Ewok Skirmisher squad. With Scout 2 from Wicket’s Scouting Party, that unit can move up to 30” by the End Phase of round two (when Primary Objectives begin scoring). This would allow them to contest any Primary Objective POI during round two barring some unique terrain setup.
Transport
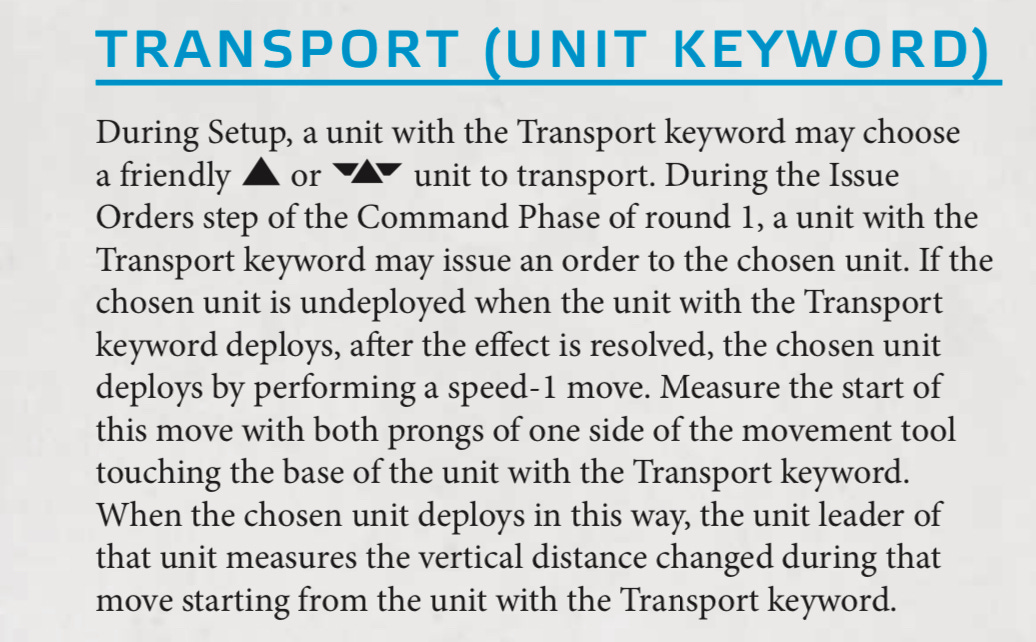
The final way a unit can deploy is via Transport. During setup, each unit with the Transport keyword can choose a corps (note that the full squad upgrades do not allow the use of transport) or special forces unit to transport. That chosen unit is issued an order by the transport round one—this order follows mercenary restrictions though, so be careful with mercenary corps and special forces (In the Shadow Collective Battleforce, the transported unit is issued an order regardless). During round one, when the Transport unit activates, it deploys normally first. Then, interrupting the Transport unit’s activation, the unit being transported, deploys by performing a speed one move from the Transport. This move, similar to normal deployment, has the two prongs on one end of the movement tool in contact with Transport unit’s base. The unit leader is placed on the other end. The Transport unit then finishes its activation. The transported unit will activate later in the round will all its available actions.

Deploying via Transport actually has the longest threat range of any deployment method. A speed two unit deploying from a CIS Persuader “Snail” Tank can deploy at more than a monster 14” from the board edge. Units deploying from an A-A5 or GAV tank can deploy at over 13” from the board edge. Because of this, units deploying via Transport have some of the longest threat ranges for round one in Legion. Any speed two unit using Transport has the option to deploy in such a way that they would need only one move to contest a mid-line POI round two.
To deploy via Transport, the transported unit has to be, somewhat obviously, undeployed. The free order from the Transport unit round one should make this pretty easy, though it is important to be aware of things that can mess with face up order tokens like the Super Tactical Droid command card “They Too Will Suffer” and Emperor Palpatine’s command card “Give in to your Anger.” If, for whatever reason, your transported unit activates before the Transport, it will have to deploy normally and will miss out on the Transport deployment. Likewise, the transported unit must deploy immediately after the Transport deploys. This means you may run into an issue with an early Transport activation and your transported unit choosing between taking advantage of its threat range and taking lots of round one return fire or staying back and not using its longer threat range.
Another change in Legion 260 is that displacement is no more. While units can move through other units, units cannot end moves on other units. Though it was rarely a good thing to displace your own units, it is important to emphasize that you can no longer do that even if you wanted to. This means that your own units can block your Transport unit from taking full advantage of an ideal deployment move. With the size of friendly territory and the way deployment works, this should rarely come up, but make sure you’re aware of where you want your Transport to deploy.
One final note on Transports. Since the Transport unit still has one more action left in its activation, you’ll want to make sure your transported unit’s deployment move doesn’t block where you need your Transport to end up. For example, if you hope to use the Rebel A-A5 to Transport a unit of Fleet Troopers, then after they deploy, move again to block line of sight to the Fleet Troopers, make sure your Fleet Troopers don’t deploy to the spot your bus needs to end up. In fact, if you are using Hover:Ground or Ground Vehicle Transports (they both block Line of Sight), I’d recommend using the combination of your transported units threat range and the Transport’s LoS blocking silhouette to threaten POIs with corps or special forces while remaining safe themselves like in the example below.
Reinforcements
The Reinforcements keyword got a change in 260 too. Now, units with Reinforcements may perform a free speed-1 move at the start of the End Phase in round one. For the purposes of contesting POIs, this almost works like a delayed scout. Speed two trooper units with reinforcements need to end their round one activation no more than 13” from the POI they hope to contest round two. Oftentimes, this will allow these units to only move once each of their first two activations and still contest.
Takeaways
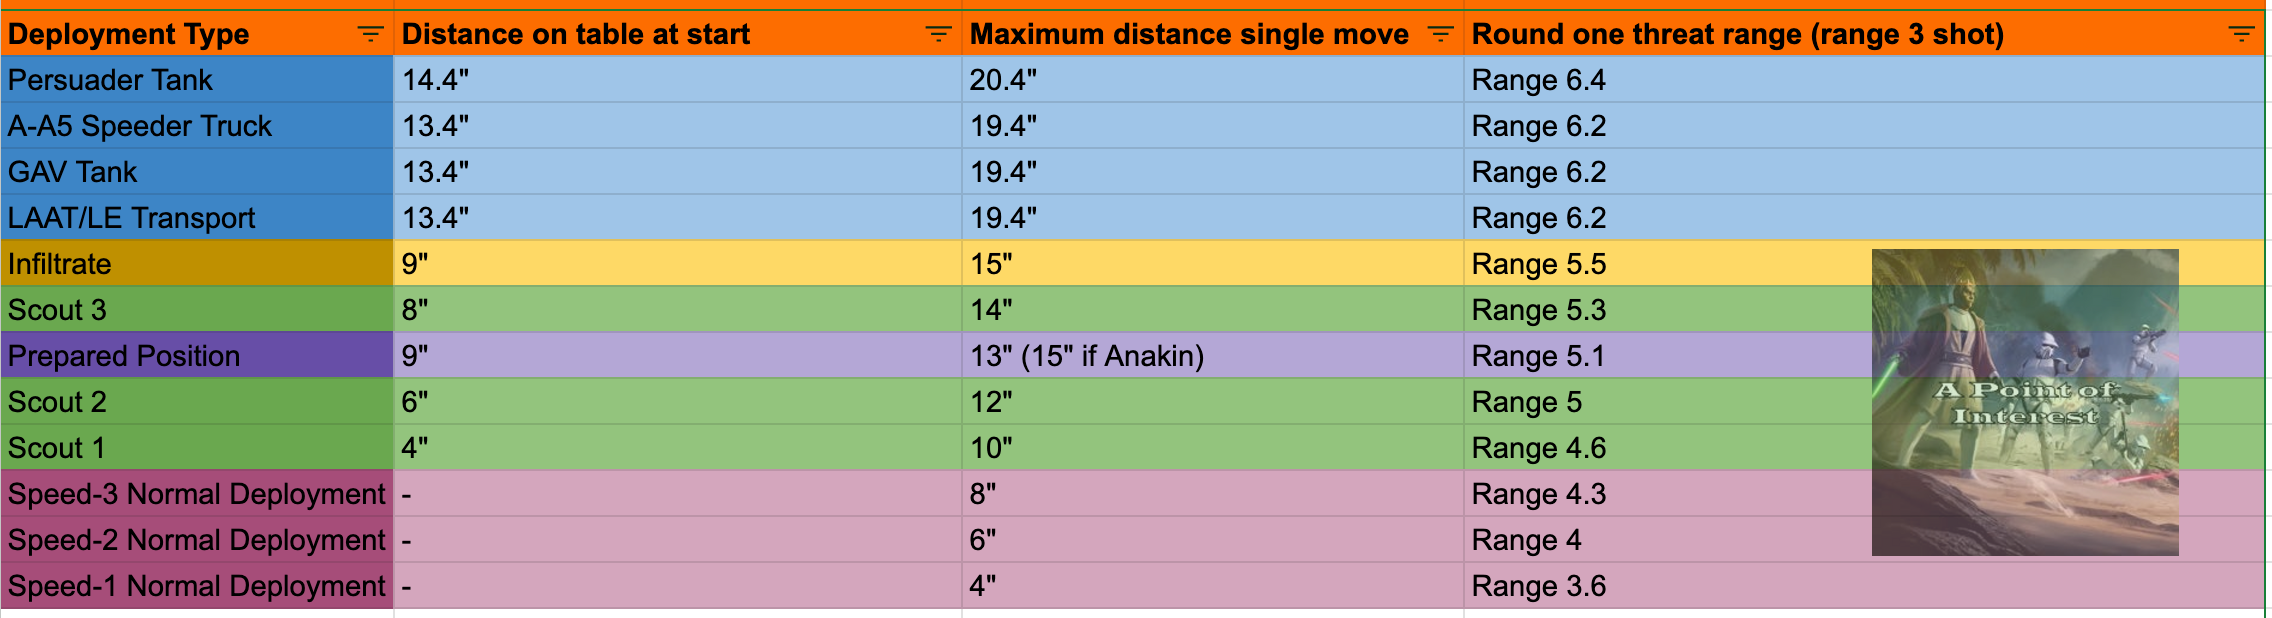
The table above shows the different deployment distances and threat ranges. Every distance and range is shown presuming that a speed two unit is deploying (apart from Prepared Position since every small base trooper with Prepared Position is speed one besides Anakin—if you’re using Garrison to get a speed two corps Prepared Position, their threat range is the same as Infiltrate). The blue rows with Transport names give distances for units deploying from them. As we can see, Transport, then Infiltrate, gives the maximum threat range for a unit deploying.
To summarize, keep an eye on how many moves each unit needs to contest a given POI by the end of round two (when Primary Objective scoring begins). For example, units deploying “normally” will often have to move three times to contest mid-line POIs. Don’t let your Prepared Position unit get defeated before it activates round one. Instead find a nice piece of LoS blocking terrain within slightly less than range two of the POI you’re hoping to contest. Take advantage of the hypothetical threat range of units with Infiltrate by having some sort of order control for them. In the same vein, consider having them end round one in a spot where a single move action could contest a POI at the end of round two. Use Scout to boost both your threat range for attacks round one but also for potential POIs you can contest round two. And, finally, don’t block your Transports before they deploy; keep an order on your transported unit, and take advantage of Ground and Hover:Ground Transports to block LoS for units they transported threatening POIs.
Next week, we’ll start to dig into Primary Objectives and how you can use the different means of deployment to your advantage on them.
What combinations are you excited to use to extend your round one threat range? Let me know in the comments below!
Great write up Reagan! I love the analysis on how many moves it takes to contest the midpoint POI's. That's going to be a key thing to know in Legion 2.0!
Good stuff Reagan!